Changing Router Settings
RSSI is one of the key indicators of Wi-Fi performance. Learn about RSSI and how it impacts Wi-Fi speeds.
How to Change Your Wireless Router Settings
Ok, so you've used inSSIDer to select the best channel for your Wi-Fi network– awesome! The next step is to actually make the change in your Wi-Fi router settings. All routers and access points are slightly different, but this guide will give you a general idea of the process of accessing your router configuration to change the channel, security type, and other settings.
1. Connect to your network wirelessly, or via ethernet.
Note: An ethernet cable works a bit better, because your router will disconnect your from the wireless network for a moment while it switches channels.
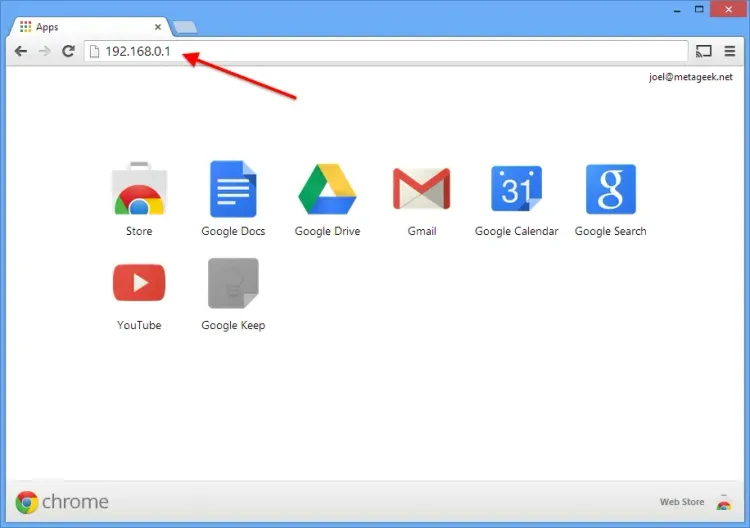
2. Find your router configuration page.
Access the router configuration page by typing the router's IP address in to the address bar, and pressing enter.

Note: Even though there are a few more possible addresses, it doesn’t take long to see the pattern. Try changing the second to last number if none of those work.
Wait a minute... what's an IP Address?
Glad you asked! Each router hosts a tiny webpage that you access to configure it. Just like a website has an address (such as www.metageek.com), your router has an address. Since it's a home Wi-Fi router, it doesn't need a name reserved for it, so it's just a numerical address. Typing in the address in the address bar on your browser will take you to the configuration page for your router.
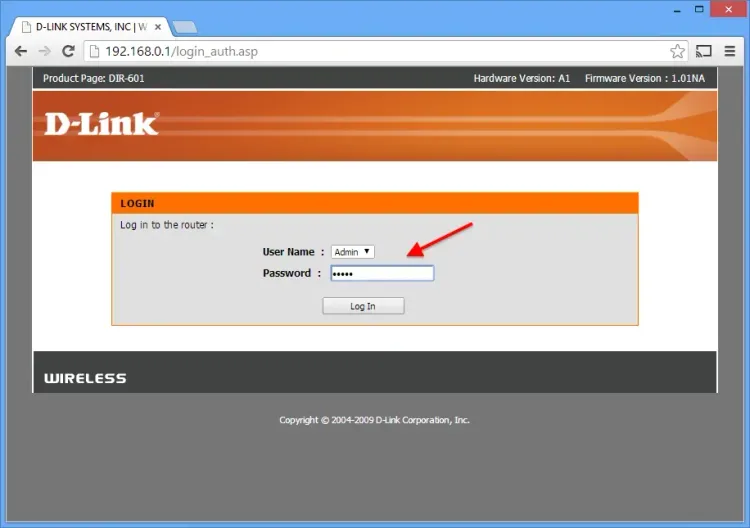
3. Log in with the username and password.
Most routers require a username and password. The default username is usually admin. The default password is usually on a sticker on the router, or printed on the paper manual or packaging. If you can’t figure it out, Google the model number of your router and “password” together.
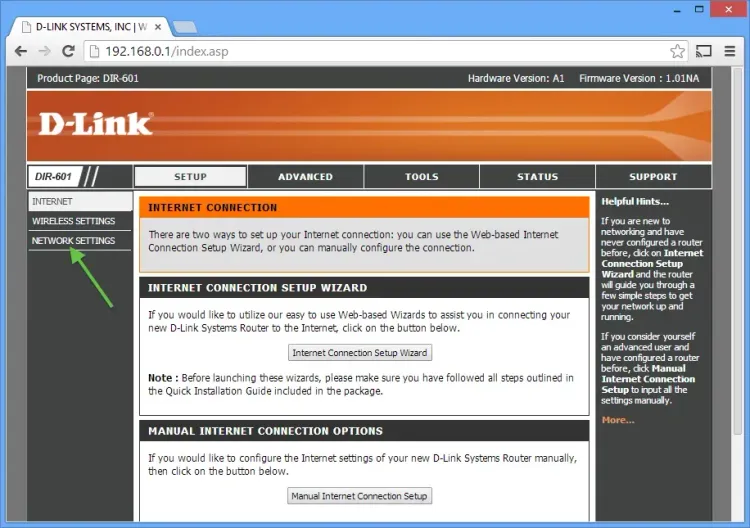
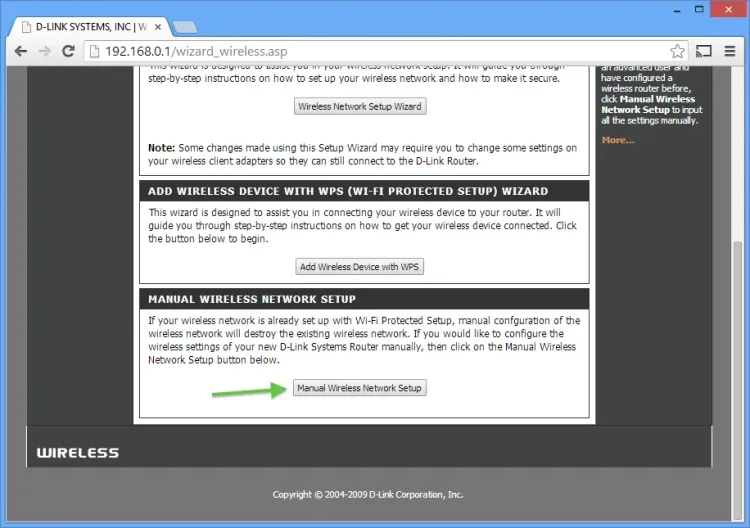
4. Find the Wireless Settings page.
On the D-Link router that we used, the wireless settings page was easy to find. Usually, you can locate it along the top or the left side, but it depends on the router. In some cases, it’s hidden in another menu.
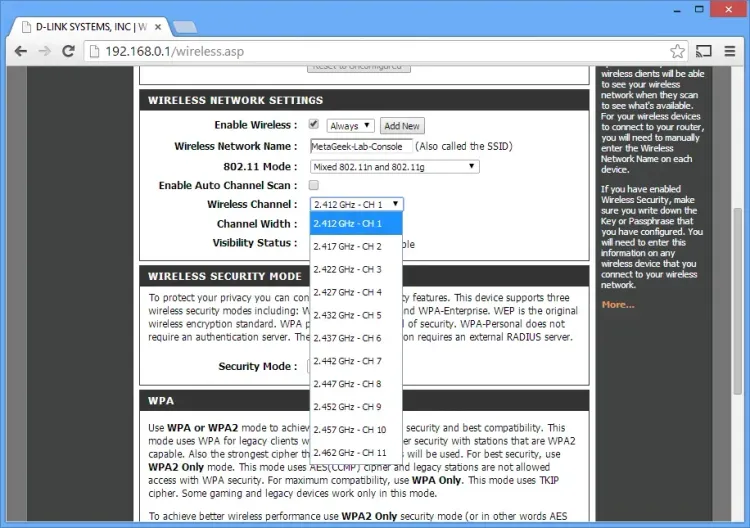
5. Set the new channel, usually with a dropdown menu.
1, 6, and 11 are the only three channels that don’t overlap on the 2.4 GHz band, and while putting your Wi-Fi network on the same channel as another network in the same band isn't ideal, it is always a better idea to share a channel than to overlap.
This is also a really good time to make sure that you are using WPA2 for security, and 20 MHz channels only (not 40 MHz or "bonded" channels).
In the 5 GHz band, almost any channel is a good choice except for DFS channels. Therefore we recommend using channels 36-48, or 149-165. We recommend using 40 MHz wide channels in the 5 GHz band.
Click Save Settings or Apply Settings to save the changes.
6. Your router will now reboot.
If you are connected wirelessly, it might take a moment for the channel to switch and for your computer to reconnect. Restart inSSIDer to verify that the changes have been applied.
Troubleshooting
If you can’t figure out a step, or if run into difficulty in general:
Google it! Seriously, Google is your friend. Always. Try Googling the model number of your router, followed by "setup" or "configuration". Instructions are always out there.
Try contacting your router's manufacturer for assistance.
Get help from other users in the MetaGeek Community. If you have a question, you're probably not the only one!
Enter your email to subscribe to our newsletter and receive updates.
At Oscium, we've spent over 16 years turning complex technology into tools that
work better for everyone.
©2026 OSCIUM. All Rights Reserved.